|
5/18/2021 Bring on the Elements
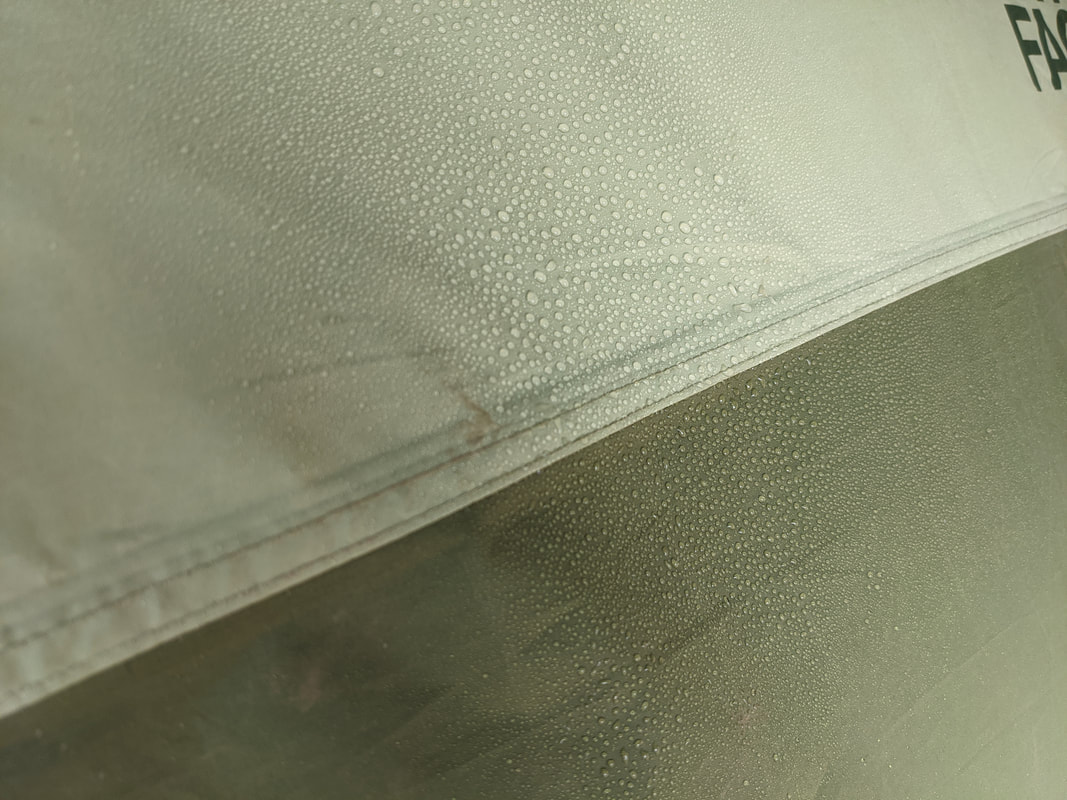
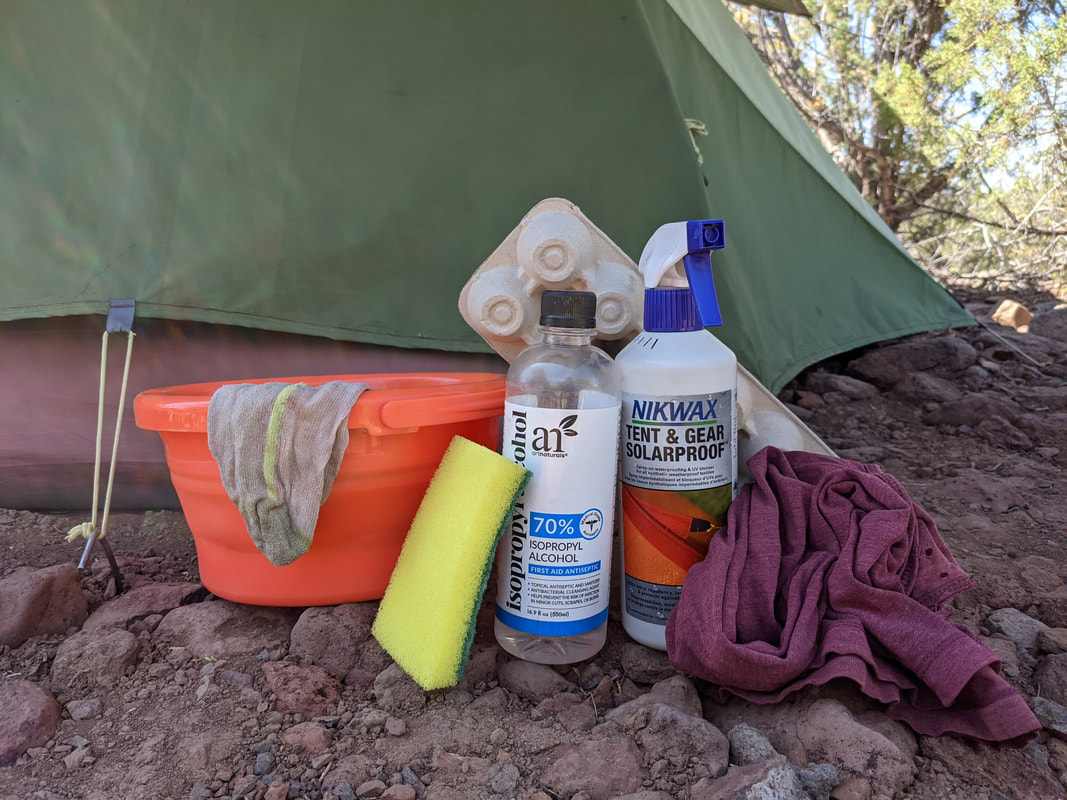
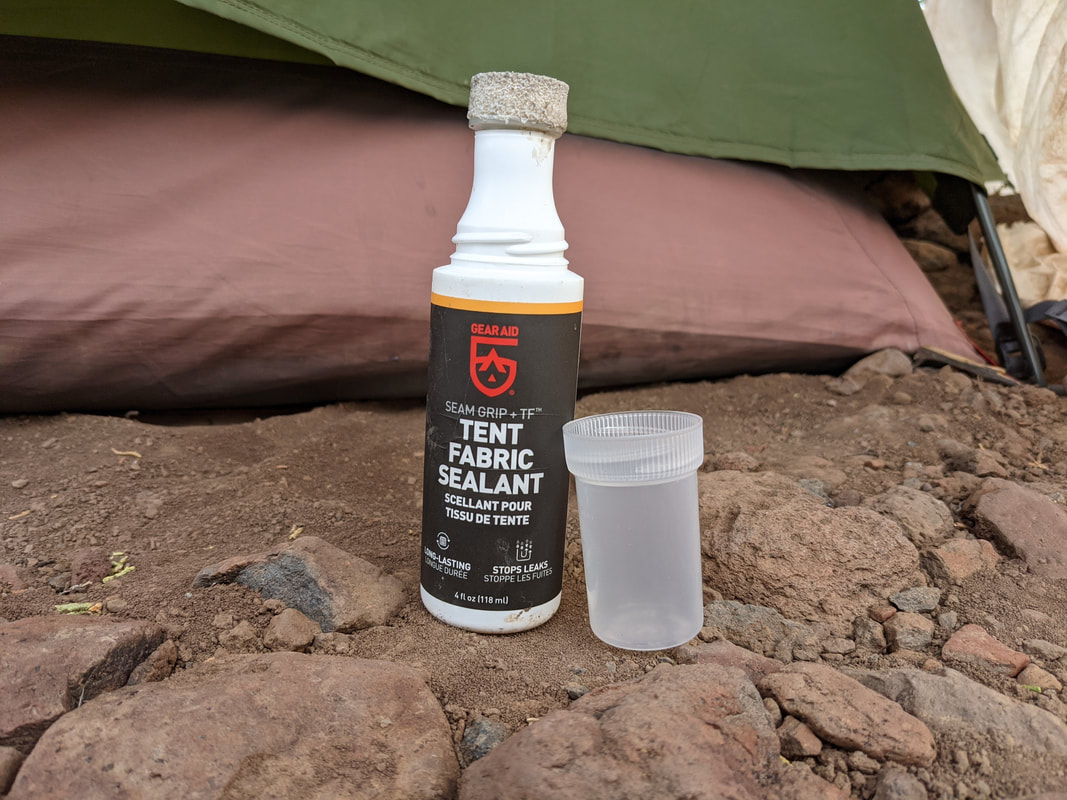
Just finished up renewing the waterproofing elements on our tent! We've been using this tent for about 15 months now, and about 6 or so months ago, I noticed the factory-applied Durable Water Repellent (DWR) wasn't as effective anymore. Instead of beading up and rolling off, some of the water would soak into the fabric. About 3 months ago, I started noticing the Polyurethane (PU) coating on the inside was starting to flake off in some places.
So we placed an order for, among other things, a bottle of DWR and a bottle of PU coating. I'm not sure if the PU coating is actually PU, but it's labelled for renewing sticky or peeling PU coatings.
Here are the materials. The egg carton functioned as a measuring tool, being about a foot long. The volume guide on the DWR bottle suggests about 50 ml per 10 square feet of fabric, so I used the egg carton to estimate the area of various portions of the tent so I could appropriately distribute the spray. Also to aid in the even distribution, I marked off approximate 50 ml increments. It involved a little math, but it wasn't too difficult. The hardest part was angling the bottle just right so that the sunlight would penetrate and I could judge the remaining volume of liquid.
If you're going to do this, I would recommend pitching the tent. That way all the surfaces are relatively taught, exposed, and easy to work with. It was breezy when I did it, but I would just wait for a break in the breeze before spraying, and it seems to have turned out just fine. 2/4/2021 Solar Computer the second generation
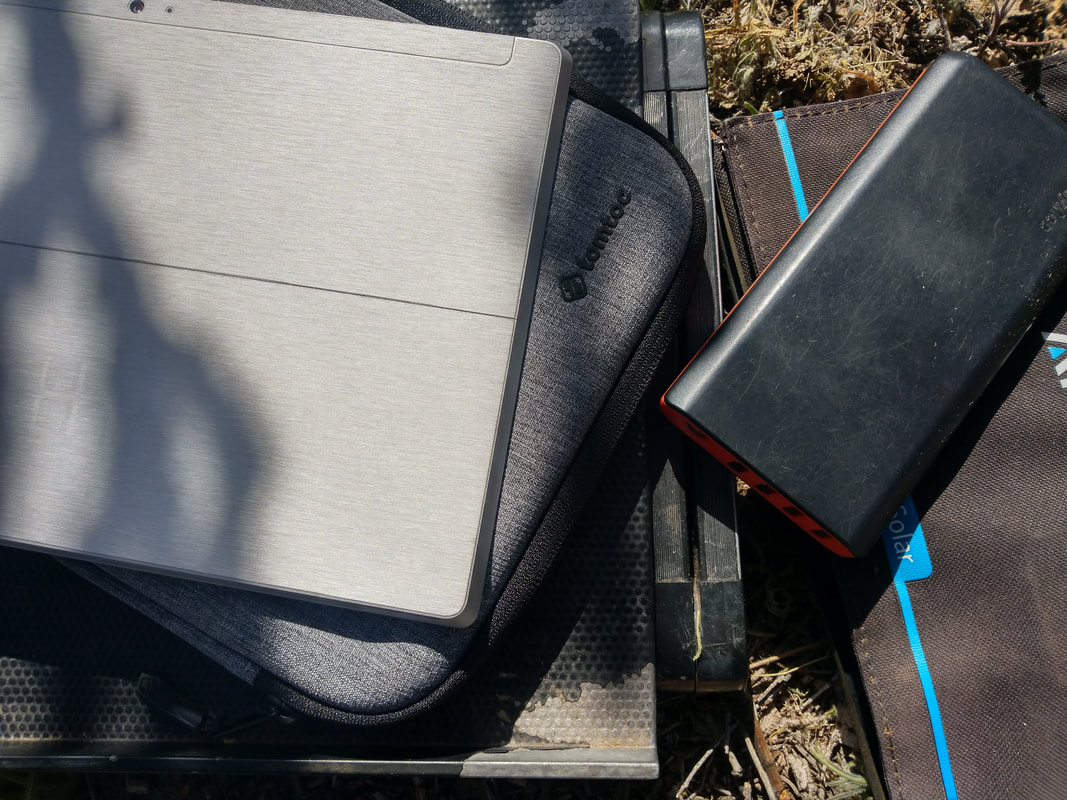
About a year ago I upgraded to a refurbished Microsoft Surface 3 which offers some really nice improvements over our older WinBook tablet. The Surface 3's 128GB of onboard storage means I no longer have to run Linux on an external USB drive which probably offers the single biggest improvement to usability, power consumption and performance.
7/26/2019 Tent Surgery: Slider Replacement
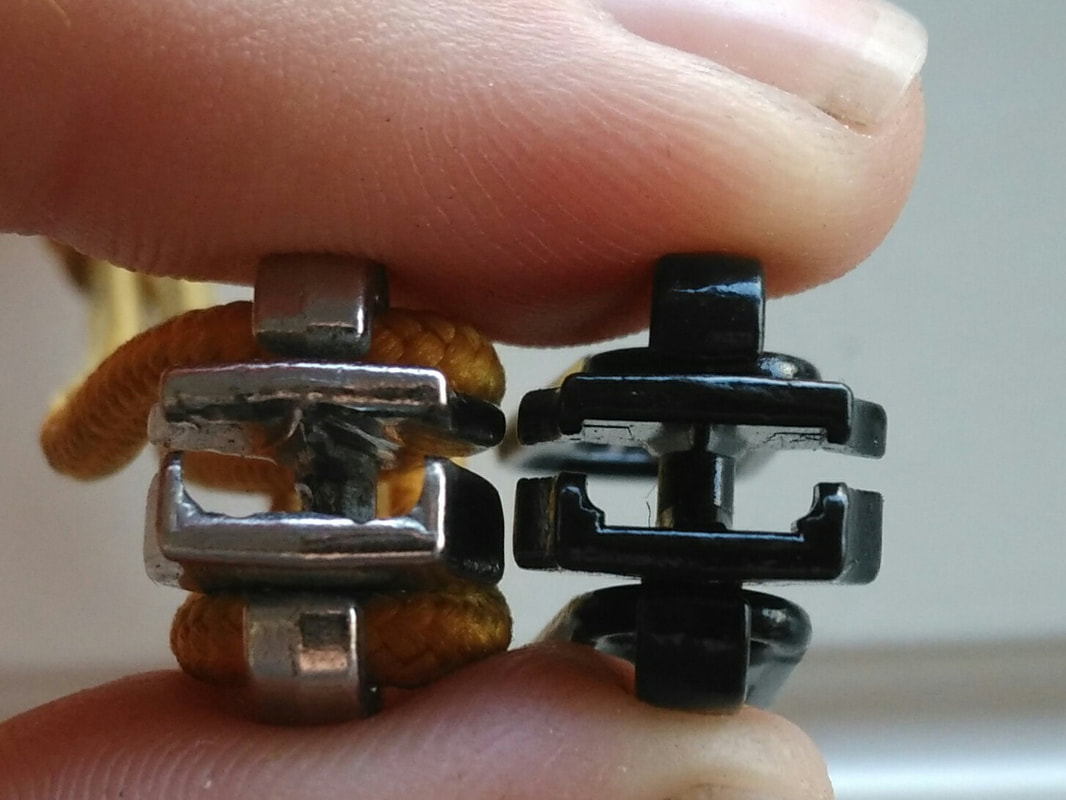
Old worn out slider on the left. New shiny slider on the right.
Now that we have enough experience with it, I feel at least somewhat qualified to offer advice on the maintenance and replacement of the sliders on the tent zippers. Not sure what I'm talking about exactly? What if I asked you, "Does your zipper not shut after you've zipped it?" If you answer yes to that, then it might be time to replace your sliders. If you're still not sure what I'm talking about (it's okay, I didn't either 20 months prior to this writing), then read on, and I'll teach you as best I can. There's all kinds of advice out there on gear, much of it probably better than mine, but this is my (our) blog. I do what I want. In fact, others have already put in considerable effort to educate the masses on the ins and outs of zippers, so I'll be borrowing some of their material for this post. No need to reinvent the wheel, I suppose.
5/24/2018 The Wheel
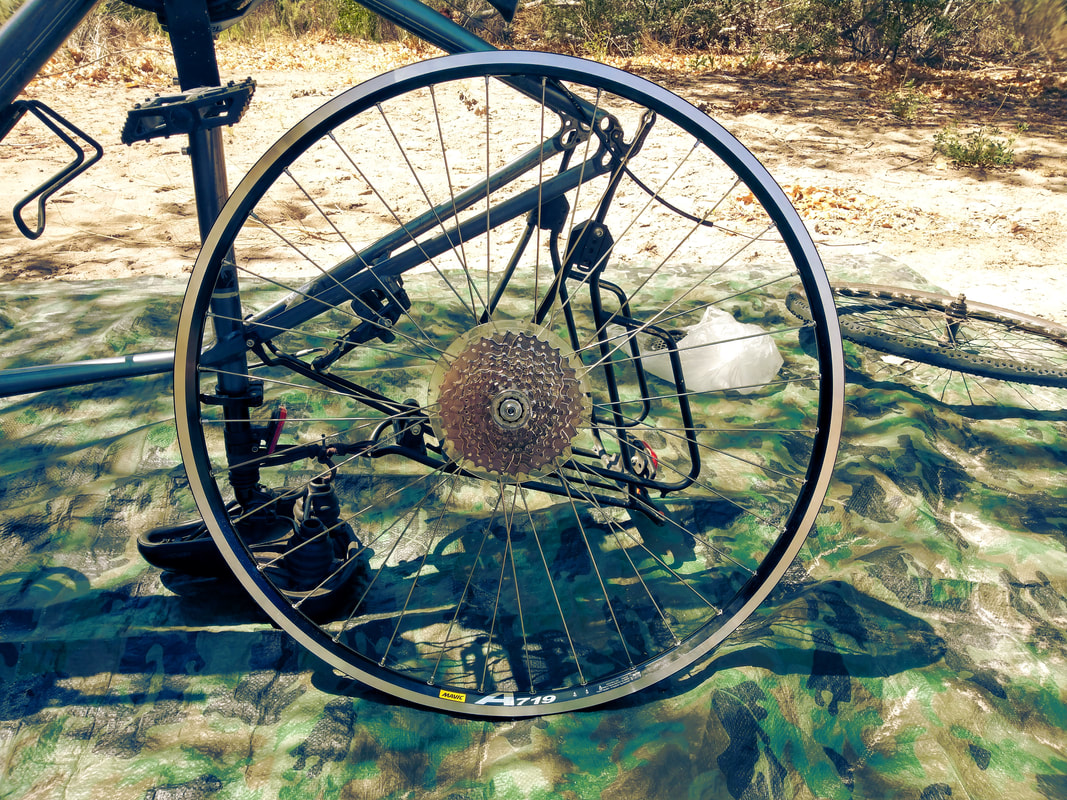
When you're on the road for long periods of time, the ability to perform your own bike maintenance really comes in handy. I've certainly had to adjust my derailleurs and brakes a fair amount of times, changed more than a few flats, replaced some broken spokes and spent more time than I'd like truing a wheel that just wouldn't stay true. More recently I can add building a whole new rear wheel and derailleur installation to that list.
Building a bicycle wheel is no small task that requires a good amount of patience and, when you're out in the sticks, a little improvisation. Now you might be wondering why someone in my situation would go about such a task in the first place, so perhaps a little backstory is in order. The stock rear wheel on my bike has had almost daily problems since we first set out. Our first night out I found the bike perilously unstable, but didn't have time to look into it and just assumed it was a complication of riding with a lot of gear. After over a week of riding like that, I discovered that several spokes had worked their way out of their nipples leaving the wheel unsupported in some areas. This left the wheel permanently bent and almost impossible to true.
11/2/2017 Biolite Campstove: Introduction
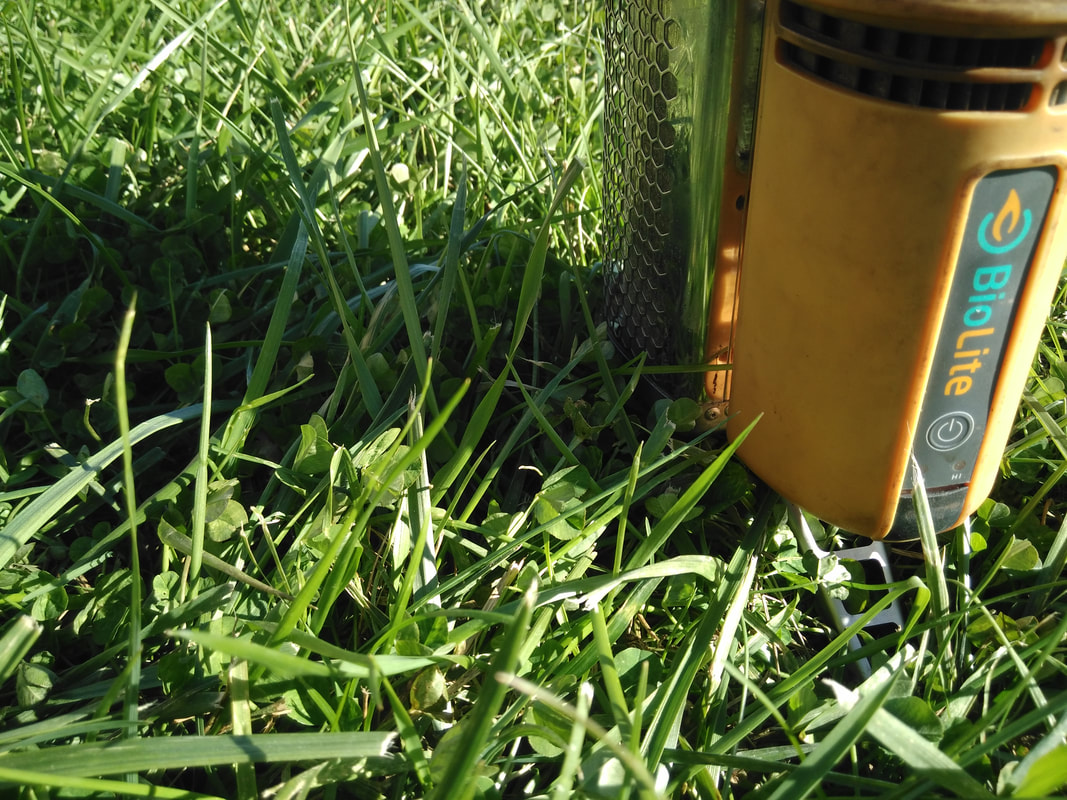
The BioLite camp stove is probably one of my favorite pieces of gear that we have. I like food, and I love cooking and not just cooking but really delving into flavor and texture combinations. Without a stove, this would still be possible but just very different. We decided to go with a wood burning stove, even though it is heavier and more cumbersome than some of its gas fueled counterparts because in the long run, cost efficiency is necessary for us, and wood is generally everywhere and free. It does present a number of challenges like how to perk a pot of coffee when it's raining, if you didn't collect wood before it rained-how do you work with wet wood, and, one we've not yet encountered: how to cook when no open fires are permitted. Originally, we planned to obtain a small gas burner as a backup which would solve essentially all of these problems. This plan is still in place, however, on the backburner (haha) at the moment.
The campstove is 2 parts: a double-walled aluminum cylinder, which I also refer to as a canister, with some holes spaced along the inner layer and a battery pack. The yellow battery also houses a fan and has a copper rod coming out of it which fits into a hole in the aluminum component and is held in place by one of the three folding legs which are on the bottom of the cylinder. Once you've got a bit of a fire started, you turn on the fan which feeds the flame the necessary oxygen in a vortex pattern through the holes in the inner wall of the cylinder, the flame gets bigger as you add more fuel which heats the copper rod which transfers that heat to a thermoelectric generator where it is converted into electricity to charge the battery and power the fan...which is feeding the flame...that is powering the battery. So you can see by now how this is a brilliant piece of technology. But wait! There's more! 10/15/2017 Water Supply
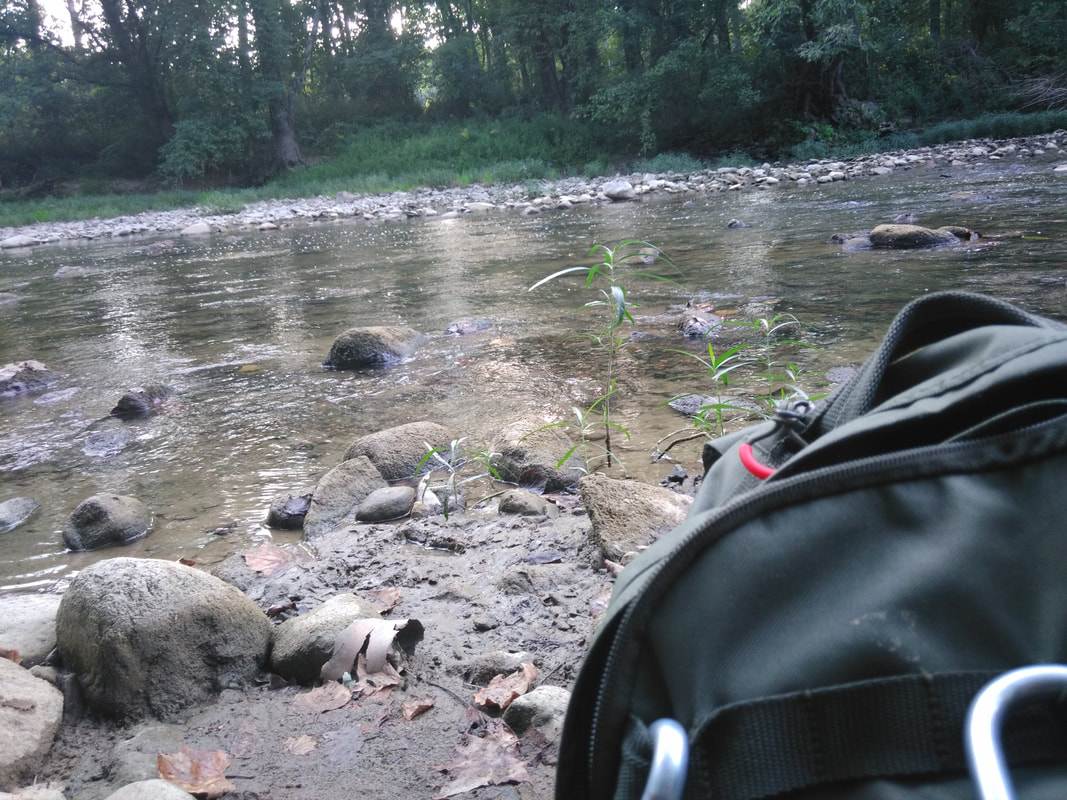
For the most part we maintain our water supply by filling up from tap water available at gas stations, grocery stores and, if need be, asking home owners, but when the availability of tap water becomes more sparse we have a two stage water filtration system that can be used to filter water from creeks, rivers or ponds.
The first stage in our filtration system is the LifeStraw Family 1.0 water filter. This filter boasts a 0.02 micron filter allowing it to filter out over 99% of bacteria, protozoa and viruses. The manufacturer claims this filter will last for 18,000 liters of water giving it a very low costs per liter and, particularly for just the two of us, a long lifespan. 10/15/2017 Solar Computer
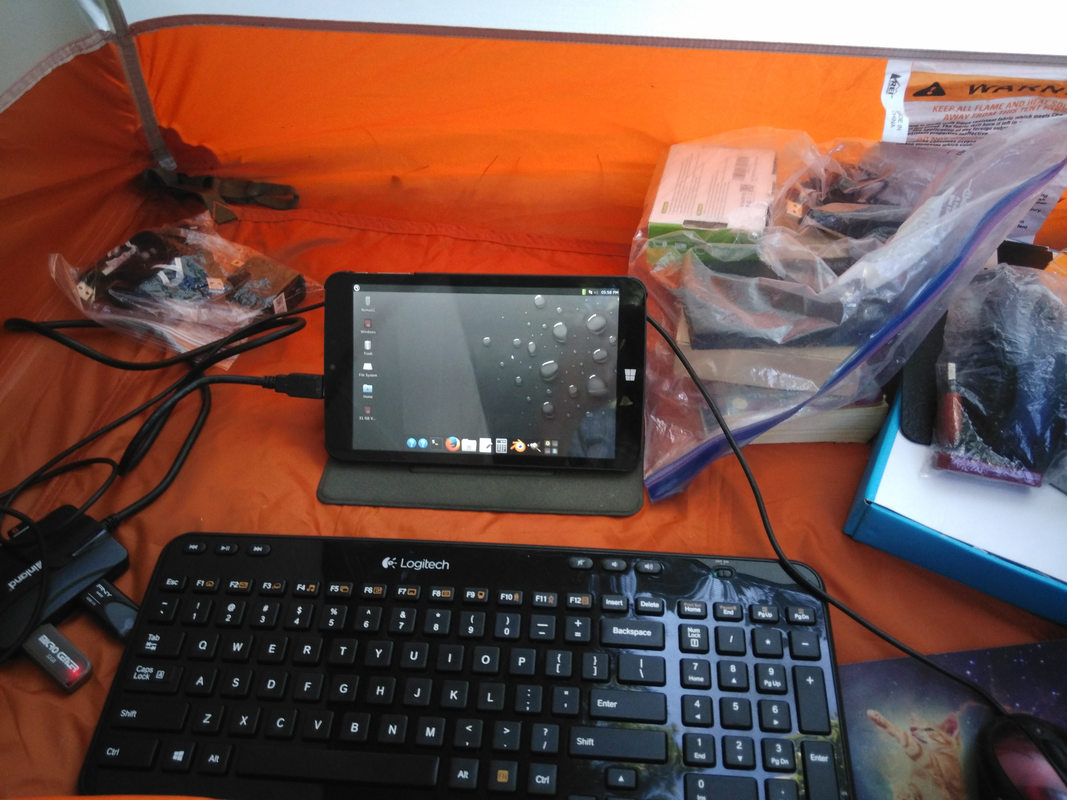
My primary computing device is an old MicroCenter WinBook TW800 tablet. Paired with the tablet we have a four port USB hub, a wireless keyboard and mouse paired with the same Logitech unifying receiver and two USB flash drives one of which has Ubuntu installed which is my primary operating system.
This tablet doesn't require a whole lot of juice when compared to a laptop and it's charged through USB which makes it a good fit with our portable solar chargers and battery packs. Usually I'll power the tablet with a 20,000mAh power bank then charge the power bank from one of our solar chargers as needed and available. If conditions provide I'll charge the tablet from the power bank and the power bank from the solar charger while using the tablet. In good sunlight the solar charger should provide more power to the power bank than the power bank is providing to the tablet. |
Archives
February 2024
CategoriesAll Eats Gear HSFRL Lifestyle Nugs Opinion Patterns Recipies Travel 
|


 RSS Feed
